Chocolate Babka
Working in IT allows me to work from home, but working from home has its own set of challenges. I took some of that to think about what i was going to bake after the Apricot-Almond Coffeecake, it needed to be a little more challenging so it felt like i was progressing through my journey to become a better baker. I have been looking at making babka for a little while, watched a ton of videos to make sure its something i would be able to tackle and something that’s not out of my league. If i am being quite honest, anything that takes more than a few hours to make, tends to scare me. It’s a big commitment, lots of time for things to go wrong.
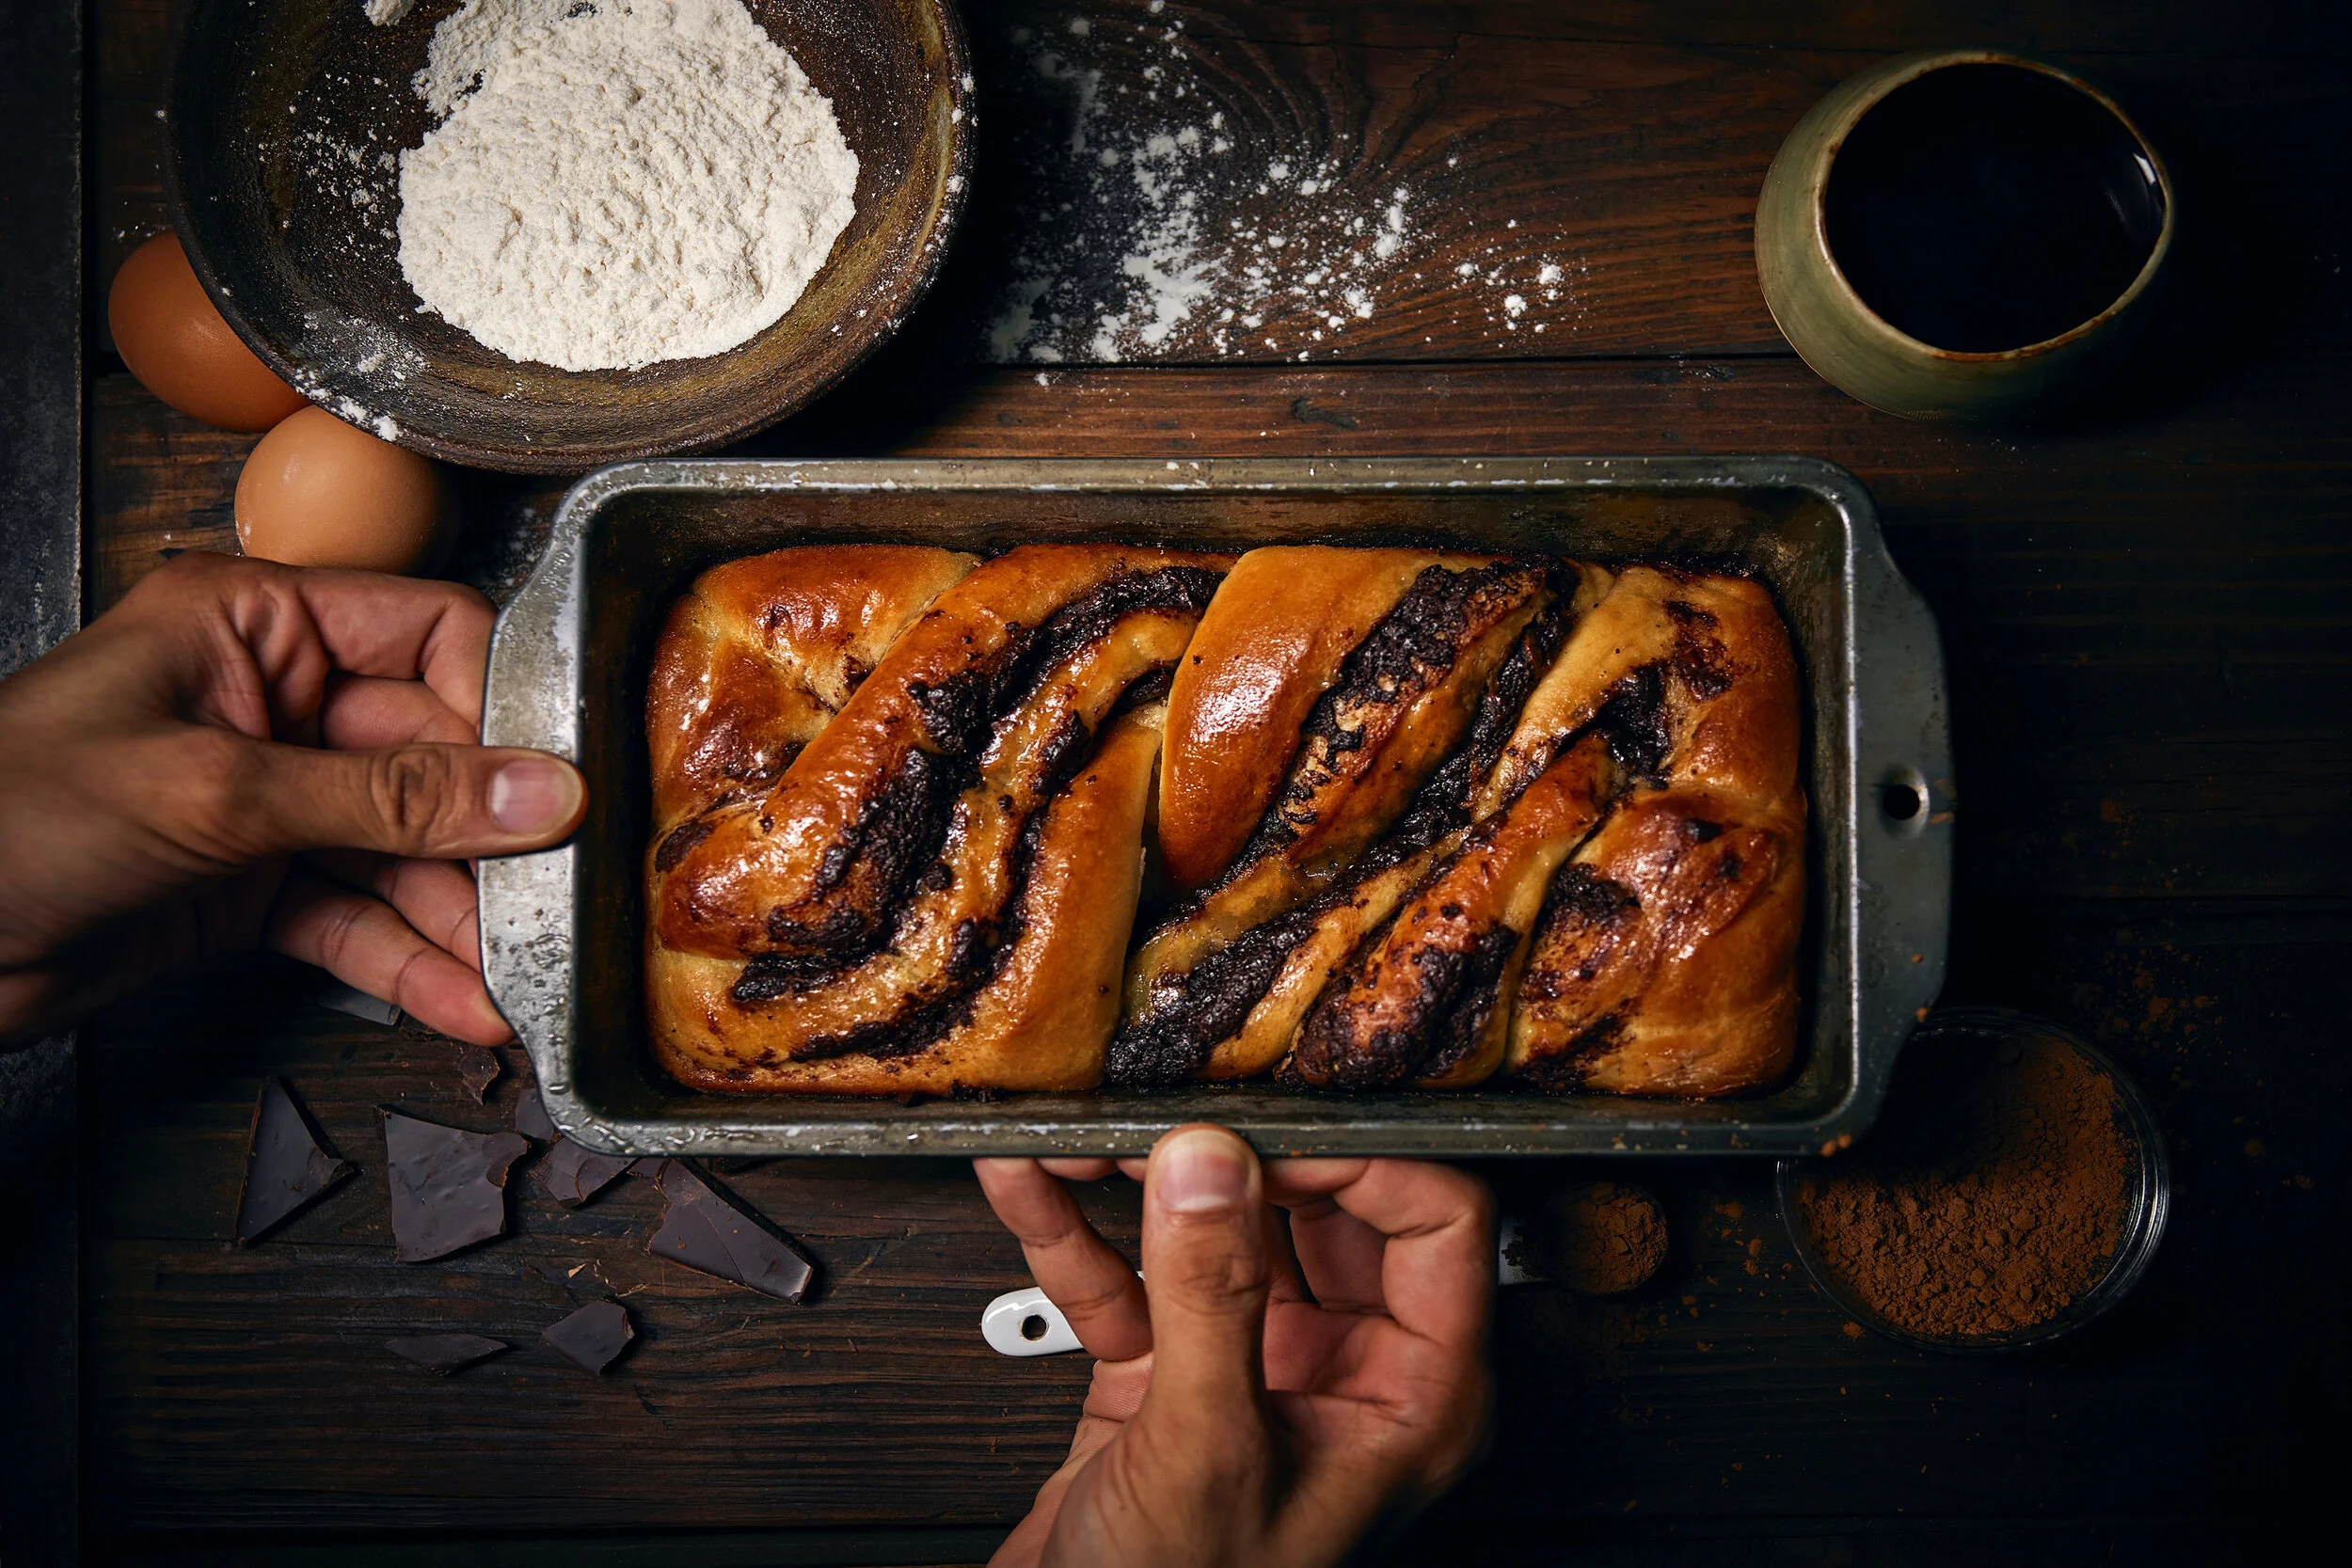
I always try to find a balance between what looks awesome, what will provide a good challenge and something that won’t take too long to bake but i decided to commit to this recipe no matter how hard it seemed and i will say it was well worth it. This is my first multiple day bake and i am very proud of it. The babka has a light and fluffy texture of a brioche bread, that has tons of dark chocolate for something that is not too sweet but has a deep flavor,
I got this recipe from Joshua Weissman (he has an awesome video tutorial as well)
Chocolate Babka
Prep Time: 1 Hour
Bake Time: 25 -30 Minutes
Rest Time: 14 Hours
Total Time: 15:30 Hours (Don’t get freaked out this)
Yields: 2 Loafs
Ingredients
Dough
3 1/3 cups all purpose flour
1/2 cup granulated sugar
3 tsp instant yeast
3/4 cup lukewarm water (90 degrees F)
3 large eggs
10 tbsp unsalted butter, room temp
3/4 tsp fine sea salt
neutral tasting oil for greasing
Chocolate paste
6.5 oz (180g) dark chocolate (70 percent or higher)
1/2 cup unsalted butter
3/4 cup powdered sugar
1/2 cup plus 1 tbsp cocoa powder
1/8 tsp freshly grated nutmeg
small pinch of salt
Sugar Mixture
1/3 cup water
1/3 cup granulated sugar
Day 1
Add 3 tsp of instant yeast to 3/4 cup of lukewarm water around 90 degrees Fahrenheit. Stir that up a bit, and let it sit for about 8 minutes to bloom.
In the bowl of a stand mixer with a dough hook attachment, add 3 1/3 cup all purpose flour, 1/2 cup granulated sugar, 3/4 teaspoon fine sea salt. Give it a quick mix, then turn on your stand mixer to medium low speed. Add 3 large eggs and your bloomed yeast mixture to your mixer and let mix until it starts to form a dough. Scrape down the bottom and sides as necessary.
Once it forms a dough, add 10 tbsp of softened unsalted butter at room temperature. Add this a spoonful at a time, until all of the butter is used up. Let mix for about 8-10 minutes, or until your dough it cohesive and smooth. Once you’re done, oil up a large bowl, and transfer your dough from your mixer to said bowl. Cover the bowl with plastic wrap, and place in the refrigerator overnight for a minimum of 12 hours and a maximum of 24 hours.
Day 2
Lightly butter or grease 2 general sized loaf pans (9x5 or 4.5x8.5) and dust them with a light coating of all purpose flour. Set those aside.
Now we’re going to make the chocolate filling. Place 1/2 cup unsalted butter along with 6.5 oz dark chocolate in a pan over medium-low heat until melted. Whisk in your 3/4 cup powdered sugar, then your 1/2 cup plus 1 tbsp cocoa powder. Add 1/8 tsp of freshly grated nutmeg . Set aside.
Moderately flour a work surface. Remove dough from the refrigerator and plop it on down. Cut it in half with a knife, and put the half you aren’t going to use for the time being in the fridge, wrapped in plastic wrap. Lightly shape your dough into a bit of a disc, then, with a rolling pin, roll it out into a rectangular shape. It should be about 1/2 inch thick. Spread half of your chocolate mixture over your dough so it is evenly coated, leaving an inch border around the entire edges. DO NOT, AND I REPEAT, DO NOT OVER DO THE CHOCOLATE FILLING or you will end up with a chocolate murder scene!
Once the chocolate has been spread well, brush some water on the top border of your dough so that it’ll adhere better when you roll it up. Roll up your dough from the bottom all the way up to the top. Straighten your dough out and push the edges in to create a more even, uniform log. With a bread knife, cut your dough in half lengthwise. If you want to make this step a tad easier, put the dough log in the refrigerator for about 15 minutes to firm up ease up the slicing process.
Take the ends of the two rolls you have and pinch them together. Then, braid them over each other in an alternating fashion until you reach the other end of each individual log. Pinch those two ends together, then place the dough in one of your prepared dough pans. Repeat this cycle with the other half of the dough, then cover both loaves with a damp towel. Let them proof at 1 1/2-2 hours, or until they’ve doubled in size, at room temperature. While they’re proofing, preheat your oven to 375 degrees Fahrenheit.
Place them in an oven that’s been preheated to 375 degrees F for 25-30 minutes, or until they’ve turned golden brown on top. An inserted toothpick should come out clean.
While those are baking, combine 1/3 cup water with 1/3 cup of granulated sugar. Place those in a pot, then heat over medium heat until all the sugar is dissolved. Set aside.
Once your loaves are done baking, pull them out and immediately brush them with the sugar mixture you made earlier. Do make sure to use all of the sugar; pour the rest on if you have to. Transfer your bread loaves from the pans to a rack.
Enjoy with some hot coffee


